
|
|
|
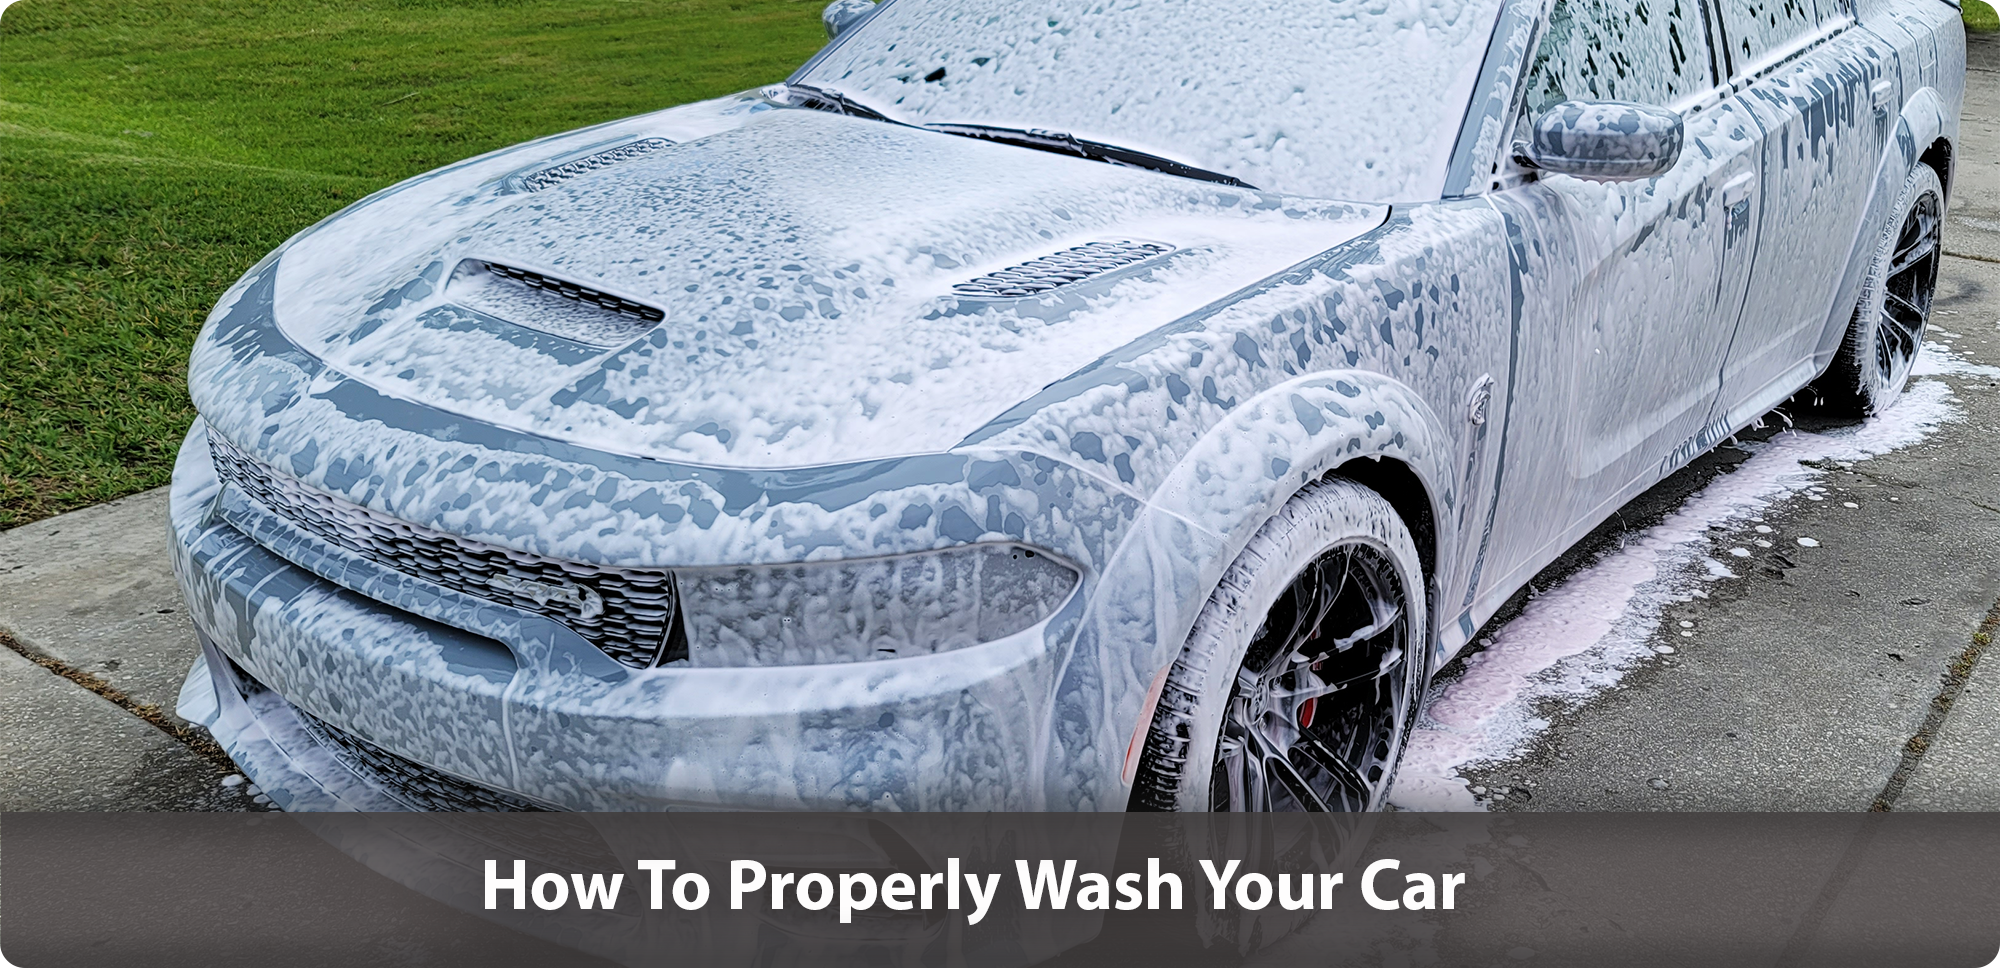
Properly washing your car
It is more than a bucket of soapy water and a garden hose. If you want your car looking its best with minimal risk of damage, you will have to approach the car washing process very carefully. It does not necessarily need to be time-consuming and tedious, but the best results come from careful attention to detail and specialized products catered toward certain steps of the cleaning process. The end result will be worth the extra steps. A cool or shady area to work out of direct sunlight. What you will need:2 buckets of water Q²M Bathe+, Q²M Smoothie mitts, Q2M Bug & Grime, Q2M All Purpose Cleaner, Edgeless 300 microfiber cloth, Blo Car Dryer, Q2M Silk Dryer or Twist N Shout Drying Towel, Q2M QuickDetailer & Creature Microfiber |
|
Stage One Step 1: Preparation. Take your two buckets of water, and add 10-15 ml of Q²M Bathe+ to one bucket for shampooing your car. Spray your car down with water top to bottom, then soak your mitt in the bucket of soapy water. Pro-Tip: for cars that have excessive amounts of insects contaminating the surface of your car, spray the Q2M Bug & Grime over the contaminated areas before you begin washing. Step 2: Cleaning Car Panels. Now that you have a nice, soap-soaked mitt, start cleaning from the top of the car and work it side to side down the panel in straight lines to ensure you don't miss any areas of the surface. In between panel sections, dunk the mitt into the bucket of clean water to rinse the mitt of any swirl-causing contaminants it may have picked up before refreshing it with more soap. Then, continue cleaning the panel, repeating this step section by section. Rinse the suds from top to bottom every section as you go. When it comes to cleaning your doors, it is crucial to stop swiping with your mitt right before you reach the bottom of your car. The bottom of the car has the highest concentration of contamination, so cleaning this area will take a separate step which we will discuss next. Step 3: Cleaning Lower Rocker Panels and Lower Portion of the front and rear bumpers. Have a second wash mitt handy that you did not use to clean the upper panels. Soak it up in soapy water, and swipe along the bottom in one smooth, horizontal motion so as not to spread grime in other areas. |
|
Stage Two
Step 4: Cleaning Car Doors. When it comes to cleaning your doors, it is crucial to stop swiping with your mitt right before you reach the bottom of your car. The bottoms of the doors have the highest concentration of contamination, so cleaning this area will take a separate step which we will discuss next. To clean top two-thirds of your car door, use the same mitt you used on the roof and work in horizontal lines. Rinse your mitt when necessary and be sure to re-soak in the soapy water every time. Step 5: Bottom of the car: Have a second wash mitt handy to tackle the bottom third of the car doors. Soak it up in soapy water, and swipe along the bottom in one smooth, horizontal motion so as not to spread grime in other areas. |
|
Stage Three Step 5: Rinsing your car. Once you have acted upon this process with the entire car, it is time to completely rinse off any soap suds left behind. |
|
Stage Four Step 6: Cleaning Door Jams. Most people tend to focus the most on the exterior of the car. What they don’t realize is the importance of cleaning the door jams. Excessive amounts of dirt and grime can build up in the door jams, and neglecting to tackle these areas can lead to that dirt and grime spreading into other areas. This is a good time to break out the Q2M All Purpose Cleaner. For directions on how to properly dilute it, visit the product page. Spray along the inside of the door jams, and cover where they naturally shut. Allow it to dwell for a couple of minutes, then wipe with a wet Edgeless 300 microfiber cloth,. Be sure to rinse your cloth in clean water in between wipes. After door jams are clean, come back with a dry Edgeless 300 microfiber cloth,, and wipe off excess moisture and dirt left behind from cleaning until you have a dry surface. |
|
Stage Five Step 7: Drying your car. The best way to dry a car is with as little friction as possible. Friction means scratching, and scratching can dull the look of the paint. So the best way to reduce friction is to reduce direct contact, using a Blo Car Dryer is your safest bet. However, if you don’t have a blow dryer handy, the next best option is to use the Q2M Silk Dryer or Twist N Shout Drying Towel For best results, spritz a couple of sprays of Q²M Ceramic Detailer onto the Q2M Silk Dryer or Twist N Shout Drying Towel. Then, carefully drape the towel across the panel to be dried, and gently drag it in a downward motion. Once this is done and the majority of water has been removed, you can use the Creature Microfiber to do a final wipe down and make sure any leftover water has been removed. Now you know the best way to clean a car’s exterior that will help it look its best! |
Written by Taylor Meehan